Entry Guide
A step-by-step guide of the entry submission process.
If you already have a ShowSubmit account, you may skip to Step 2.
Step 1
Create an artist account
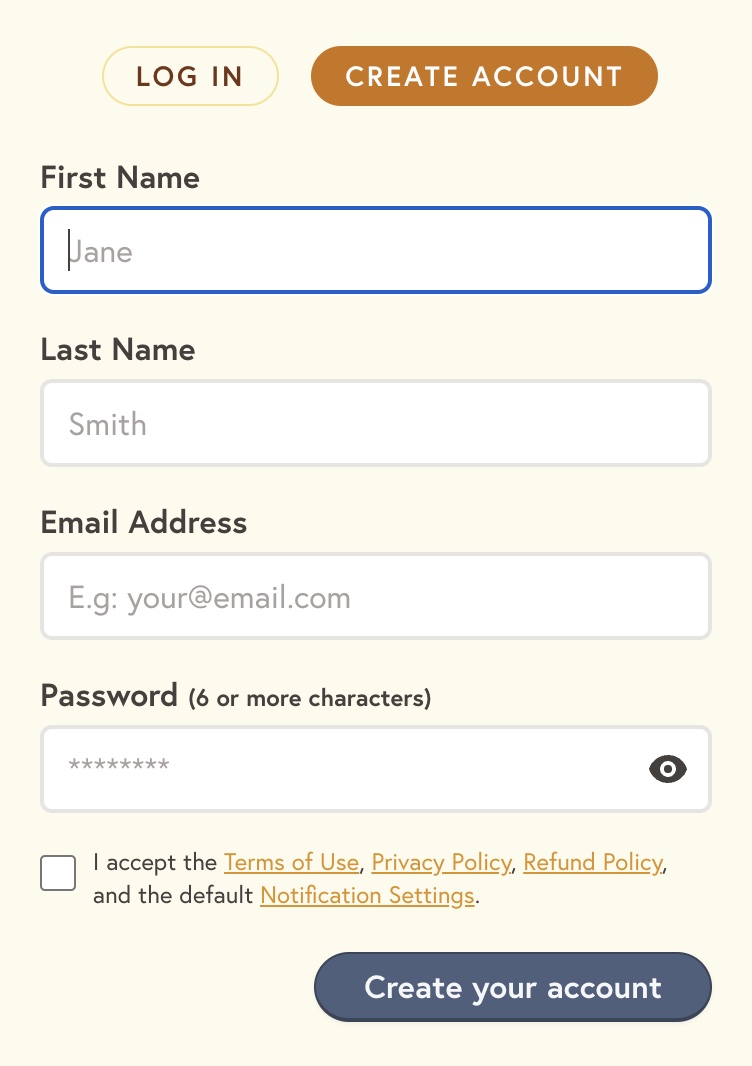
- Visit our Register page.
- Enter your First Name, Last Name, Email Address, choose a password, and accept the terms. Click or tap Create your account
- On the next page, complete the form to include your Contact Info, Address, Interests, Email Preferences, etc. Then click Save Account Changes.
- You should now be logged into your new Artist Account and can skip to Step 3.
Step 2
Log into your artist account

- Visit our Login page.
- Enter your Email Address and Password you used to create your account.
- Click or tap, Log in.
If you forget your password, you can use the Forgot Password link on the login page or visit our Password Reset page and enter your Email Address you used to create your account then click Send Reset Instructions. A reset link will be emailed to you. Use the link to access your account and reset your password.
Step 3
Select an Exhibition
- Visit our Shows page.
- Find the show you would like to enter in the Open for Entry list.
- Click or tap the Details button.
Step 4
Review the Prospectus

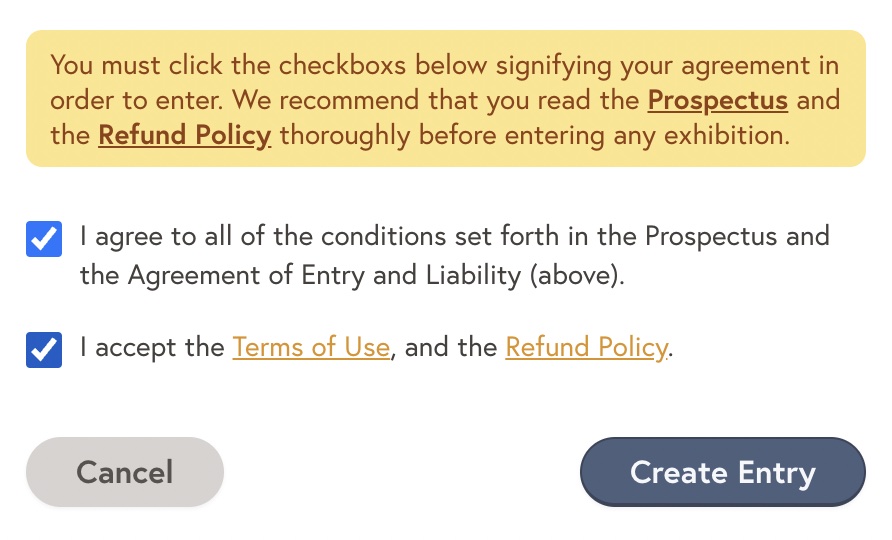
- Please read the prospectus page carefully.
- Once you have read the page in its entirety, click or tap Create your entry.
- Read the Agreement of Entry and Liability.
- You must click the checkbox to accept the Agreement of Entry and Liability.
- You must click the checkbox to accept the Terms of Use and Refund Policy.
- Click or tap Create Entry.
Step 5
Create your Entry
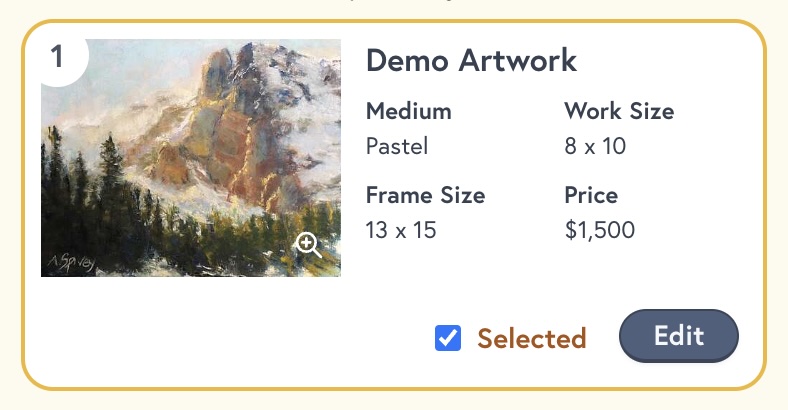
- Please select your current member status if required by the organization.
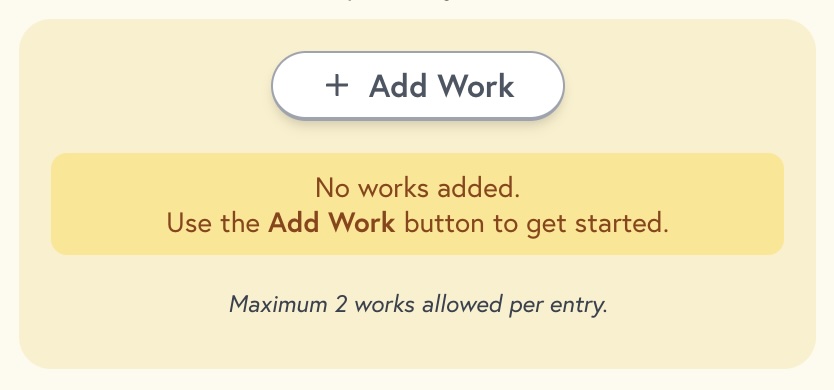
- Use the + Add Work button to begin entering your Work images and it’s details.
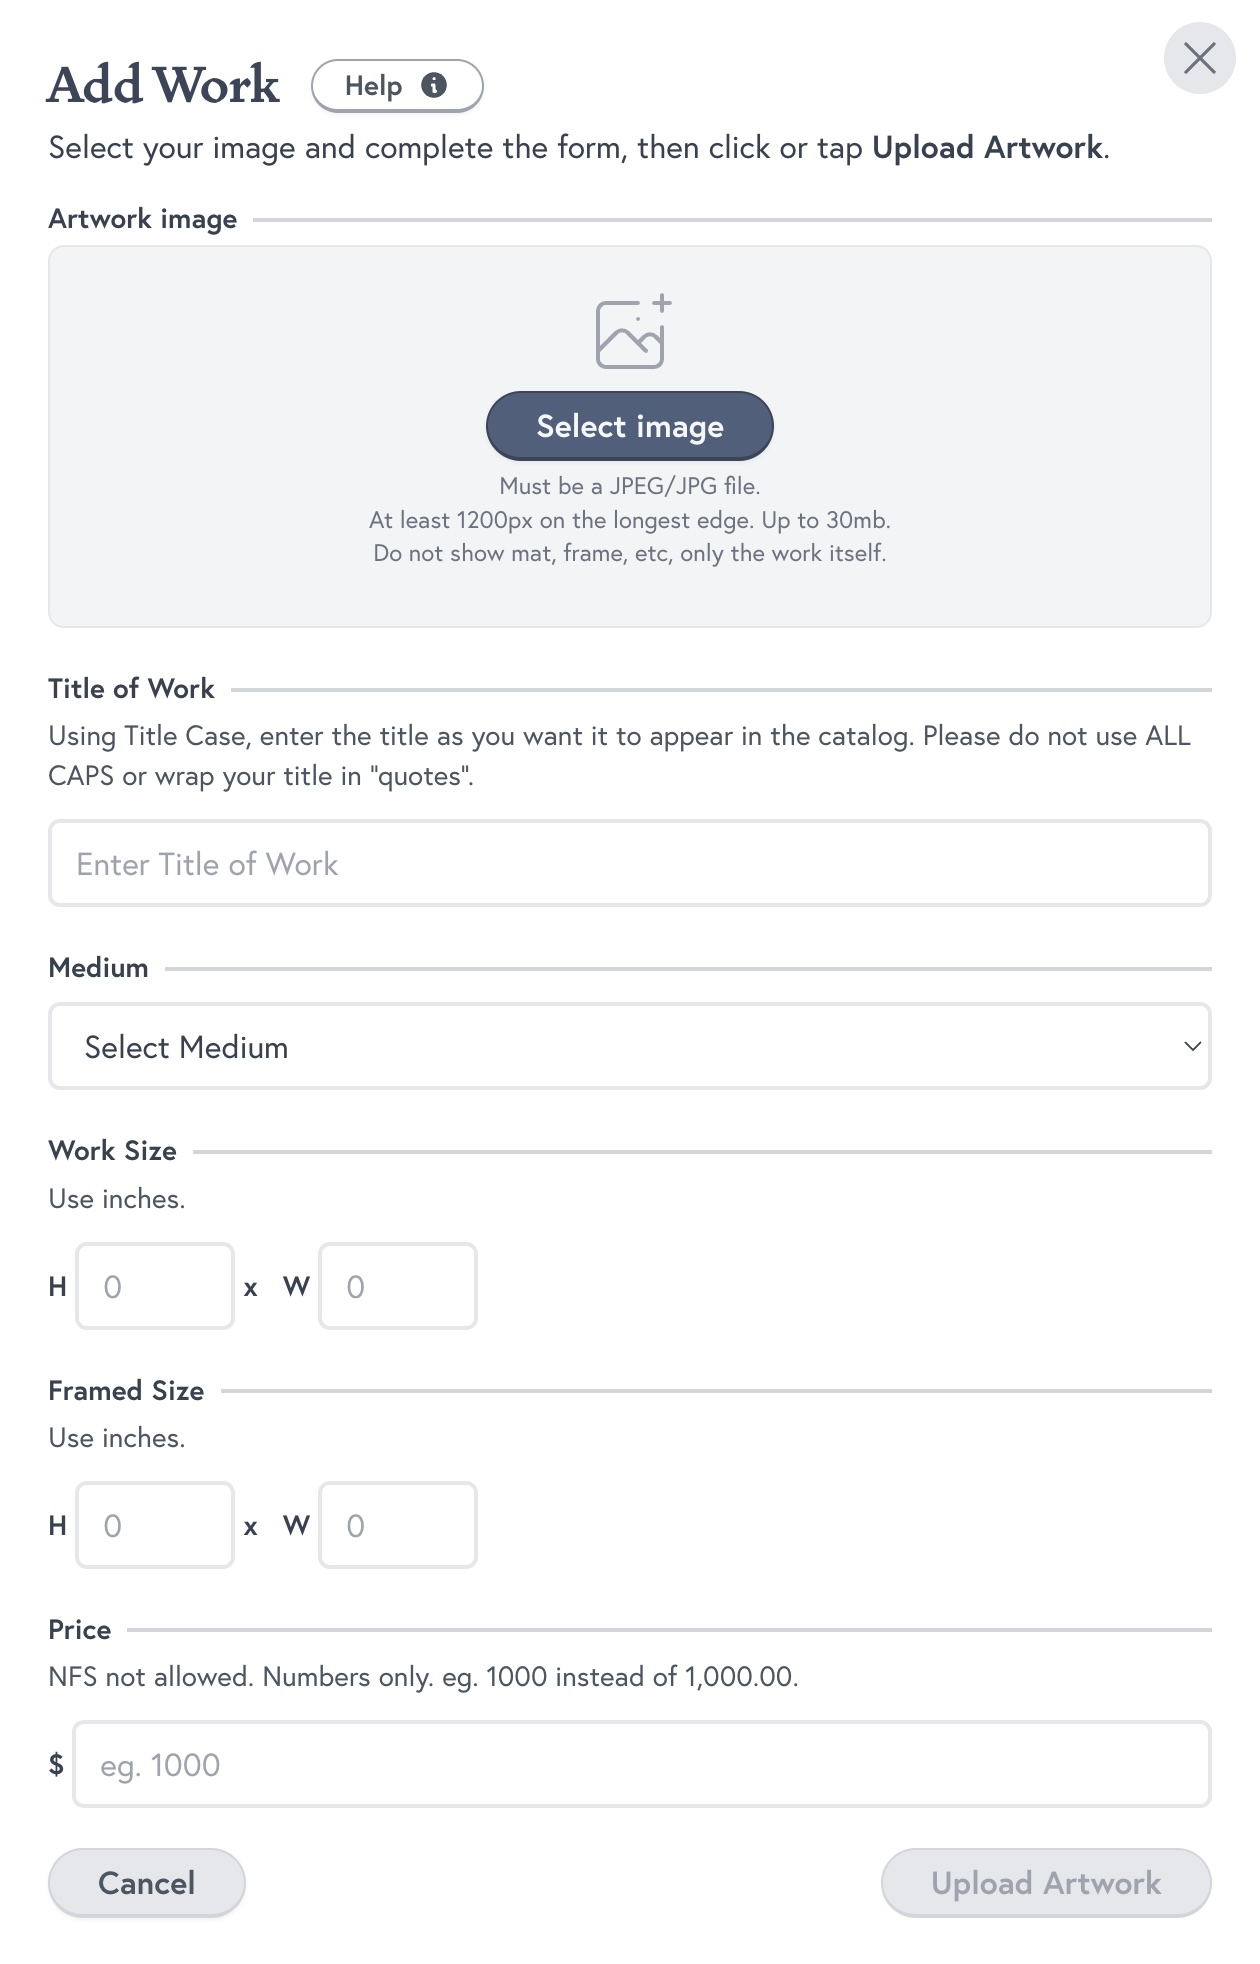
- Click or tap Select Image to choose your image.
This will open your devices File Browser. You can navigate to where you keep your images on your device. Be sure to choose a JPG file.
- Complete the form in its entirety (Medium, Title, Work Size (HxW), Frame Size (HxW), Price, etc).
- Click or tap Upload Artwork.
You will see an image processing indicator. Your filesize and internet connection affects the duration of this process.
- The work is now included in your entry. You may repeat the steps above to add more works up to the maximum number of Works allowed.

ShowSubmit resizes and renames all image files automatically, however, it is still important to upload a high-resolution JPG/JPEG image.
If you see an image too small message, you can still upload the image, but it is your responsibility to provide an image that best represents your work.
There is a maximum 30mb filesize limit. Your images minimum pixel dimension should be as large or larger than the organizations specifications.
How to edit an artwork

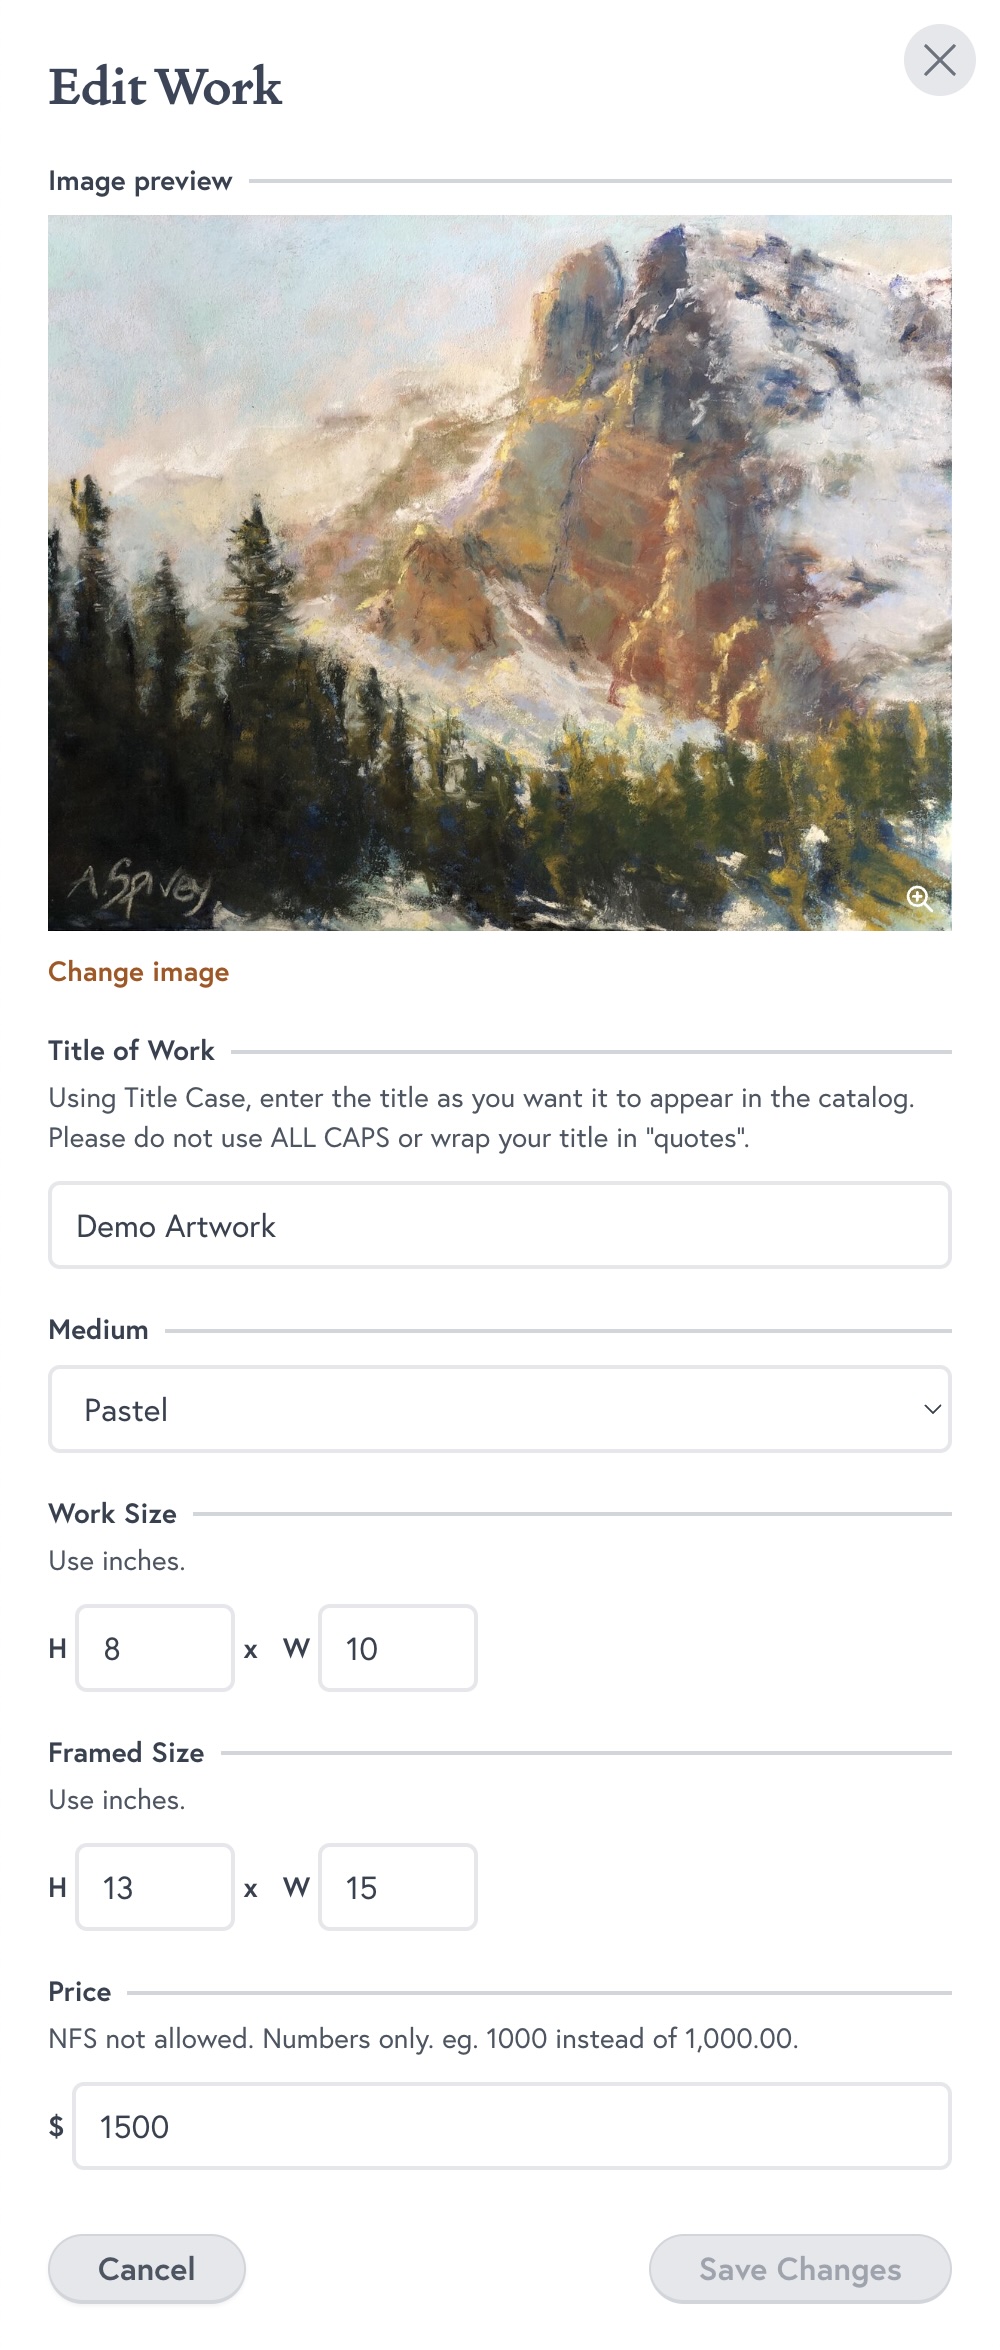
You may edit your work details associated with an artwork.
- Click or tap the Edit button associated with the work to edit the artwork details.
- Edit the necessary information, then click or tap Save Changes.
If your edit requires a new image to process, or a filename to be revised, the saving process may take more then a few seconds.
How to replace an artwork image

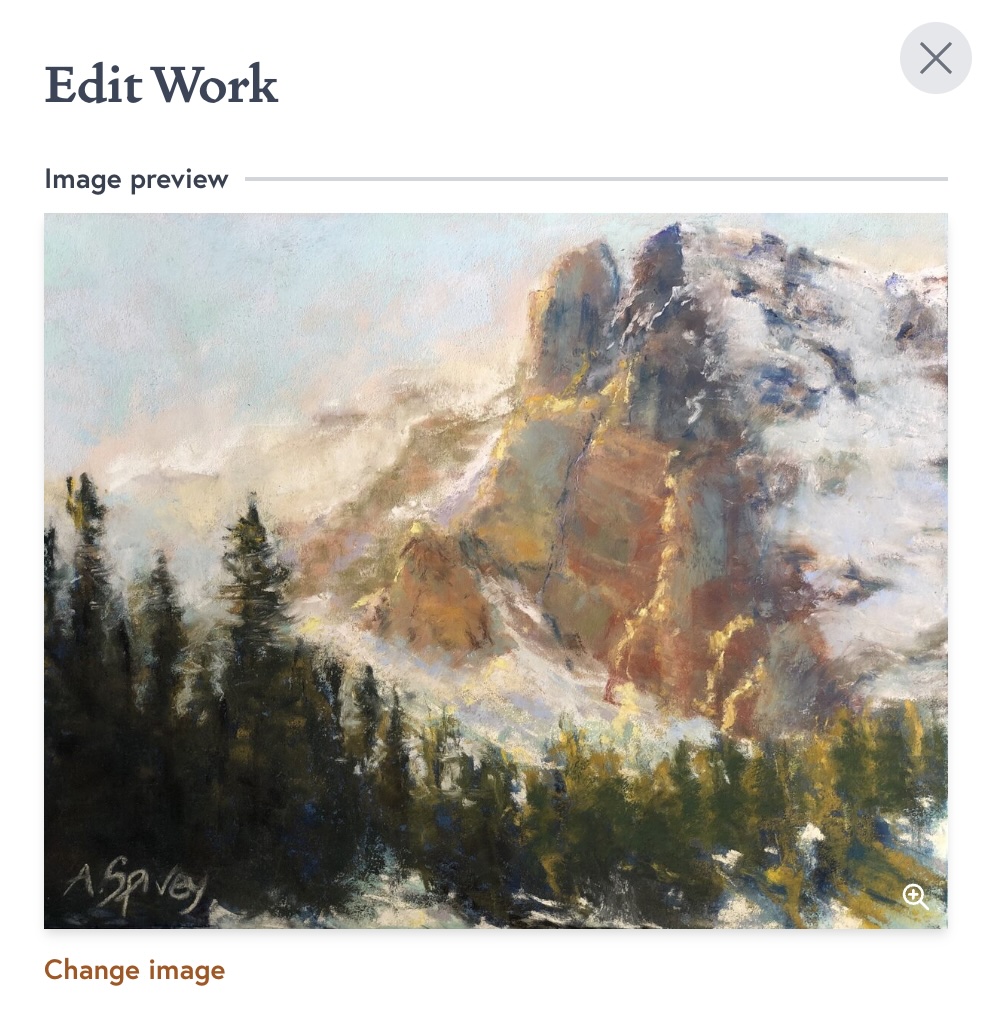
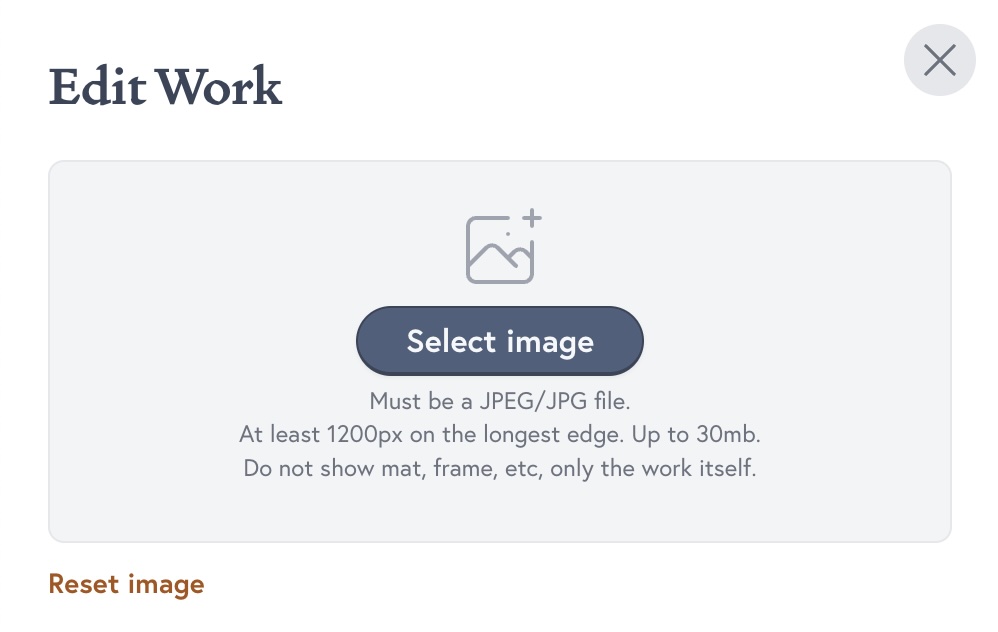
You may replace the image(s) associated with an artwork.
- Click or tap the Edit button associated with the work to edit the artwork details or to replace an image.
- Click or tap Change Image at the bottom right of the image to remove the current image and to Select Image.
- Once you select your image, click or tap Save Changes.
If your edit requires a new image to process, or a filename to be revised, the saving process may take more then a few seconds.
You may click or tap Reset Image or Cancel to abort any changes.
How to remove an artwork
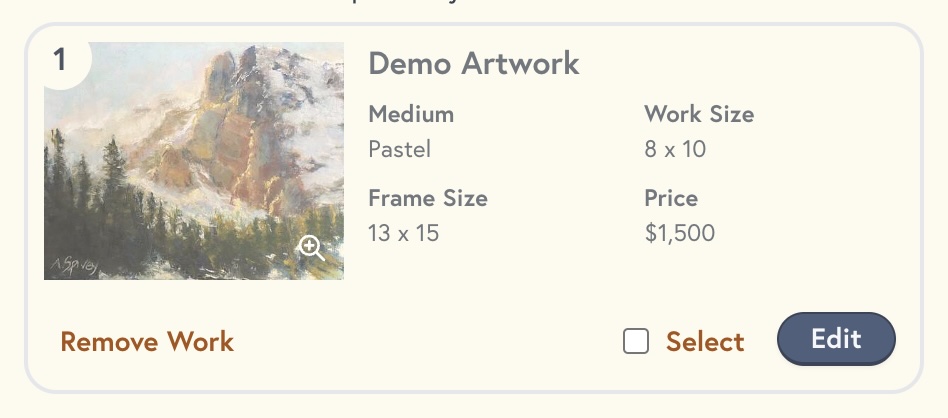
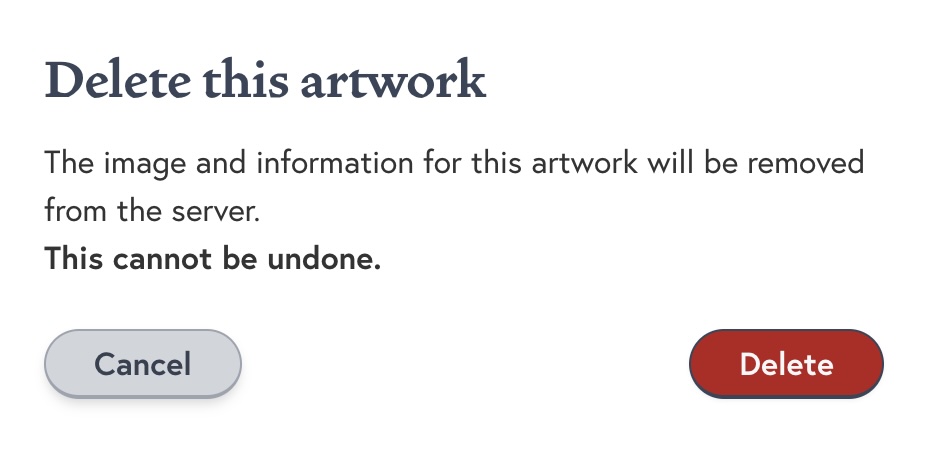
You may delete and artwork and it's images.
- Click or tap the Selected checkbox to deselect the artwork.
- Use the Remove Work button to remove the work.
- Click or tap Delete to confirm you want to remove and delete the work from your entry.
Step 6
Save and Review your Entry
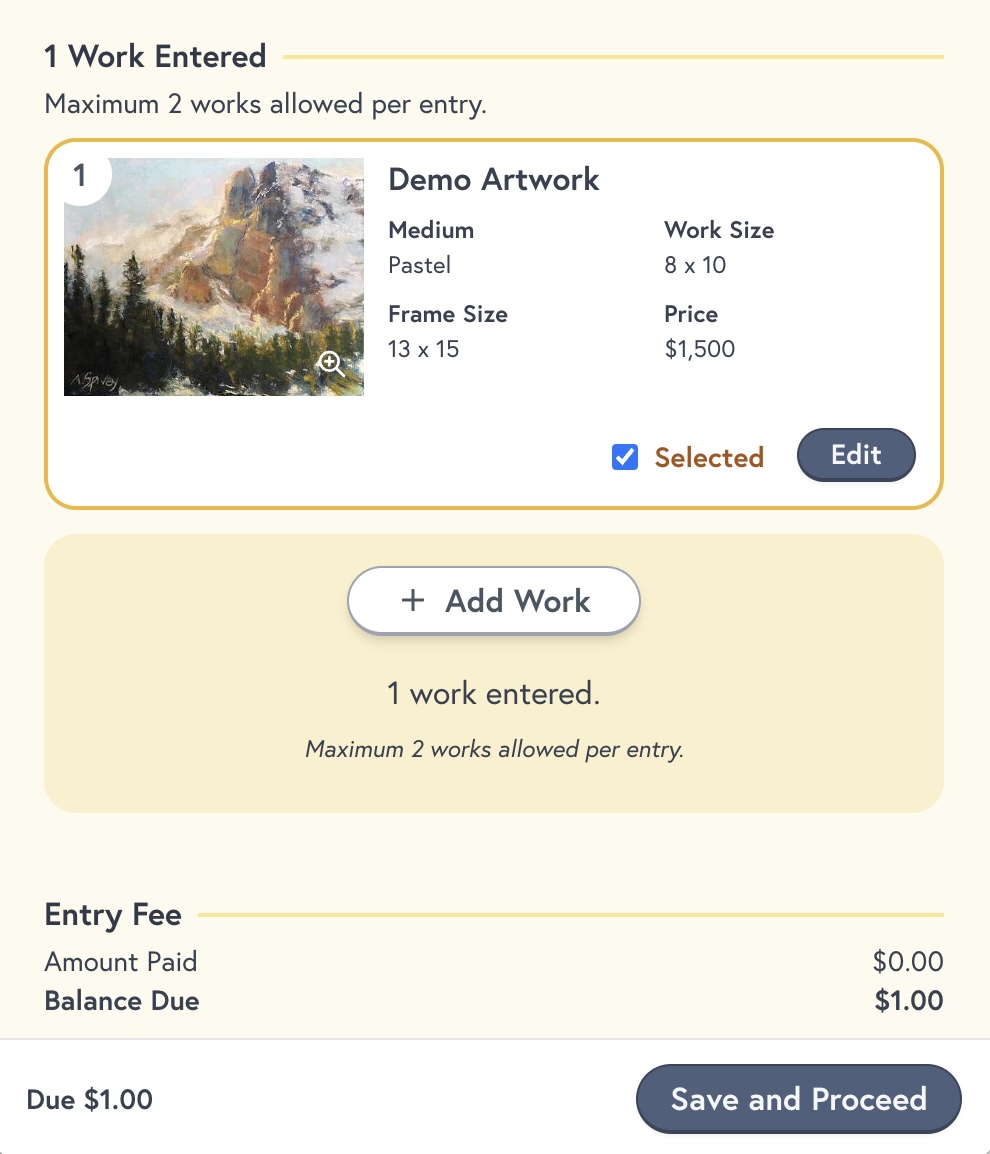
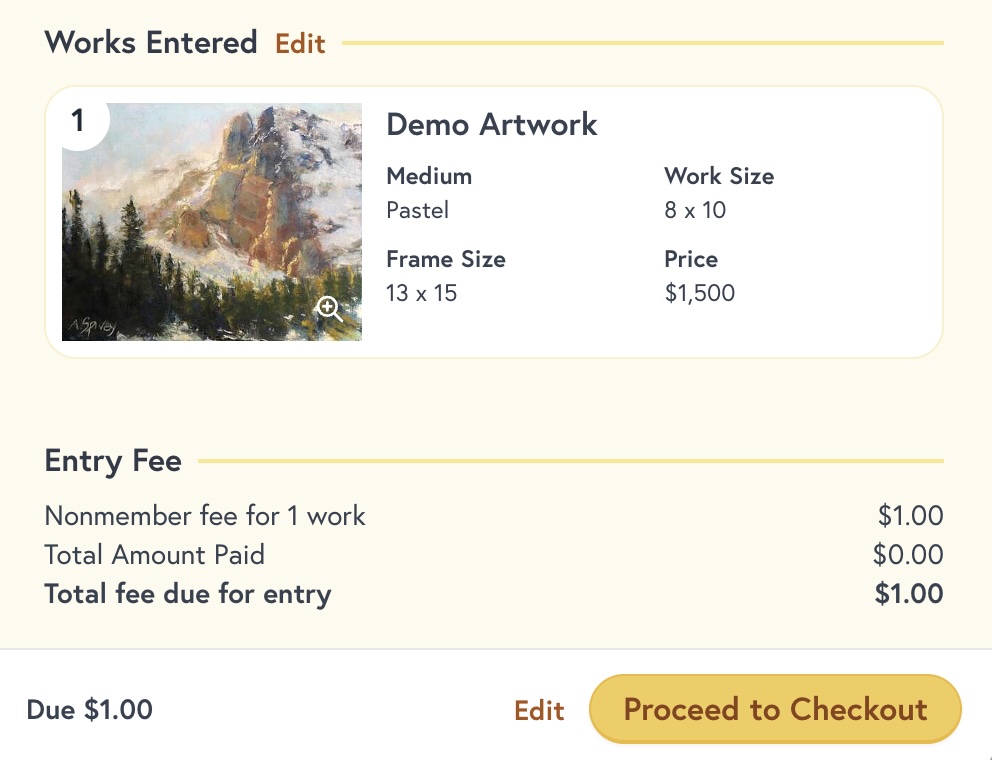
- Click or tap Save and Proceed to review your entry.
- Review your entry. Make sure your contact information, member status, and artwork details are correct.
- Then click or tap Proceed to Checkout to begin the payment process.
Step 7
Complete Payment
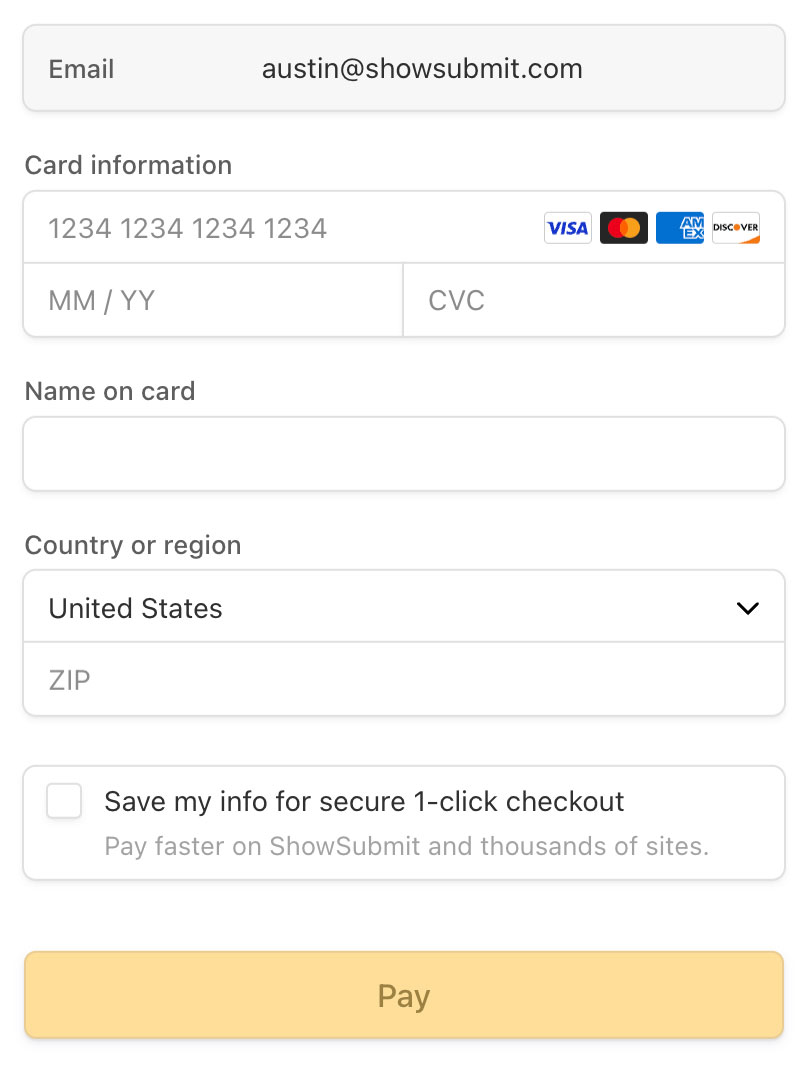
- Complete the Stripe Checkout form by filling out all required fields.
- Click or tap Pay to process your payment.
Please review the prospectus rules carefully before paying for your entry. Entry fees are non-refundable. See our Refund Policy for more information.
- You will be redirected to a confirmation page and emailed an Entry Confirmation from ShowSubmit. You will also receive a receipt from Stripe.
Step 8
Your entry is complete!
Congratulations you have completed your entry!
You may log in and edit your entries as much as needed up until the deadline. Entries cannot be edited once the deadline has passed.